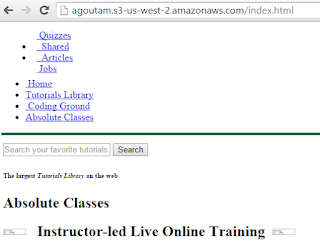
CloudFront Distribution Webpage
Create Bucket in Amazon S3 console :goutam and make it Public.
Add Files and Folder and give Permission to avail,
Make public read priviledges
click set details,on set details dialog box,click set Permission
On set Permission dialouge box,Make Everything public
And Click Start Upload
Click on file name and then on properties.
Files Uploaded so can be avail over Internet
Go to Aws Management console ->click services ->Click cloudFront
Click Create Distribution
On Select a delivery method for your content page,in the Web Section click Get Started to select
select web as delivery method.
On the next page,click origin Domain Name box and select bucket containing Public accessible image
Currently while AWS create distribution ,Status of distribution would be in progress and wait unless and untill status changed to Deployed
Once Status changed to Deployed and State is Active ,Note down the Domain name which act as URl
and can Be accessed over internet
Save file as TestCloudFront .html in Desktop
- My Cloud Front Test-EdurekaProject
- My Text content goes here
alt -"my test image "
In Line 5 Modify Img src with Cloudfront domain name and Open TestCloudFront.html file in Browser able to see content over Internet
--------------------To Delete a Distribution---------------------------
Right pane of Amazon CloudFront Console ,check the check box for distribution and click diable
and then window prompt for confirmation click yes Disbale.wait till Status changes from disable ->Deployed
verify and wait till Status changed to deployed
Check the chek box for distribution and click delete and click yes,Delete to confirm
-------------------To Delete an Amazon S3 Bucket----------------------
Go to Amazon S3 Console and ,select Bucket Click Actions and click Delete ,click Ok in message box


No comments:
Post a Comment